Your progress is saved in this browser. There’s no timer.
Before you start
- These gestures use a Face ID iPhone. Older iOS interfaces differ.
- Some apps prevent recording. Turn off screen mirroring first.
A clear way through this guide.
We’ll show you one step at a time. When you’re ready, press Done — next step. You can go back or take a break whenever you like.
6 steps · Your own pace
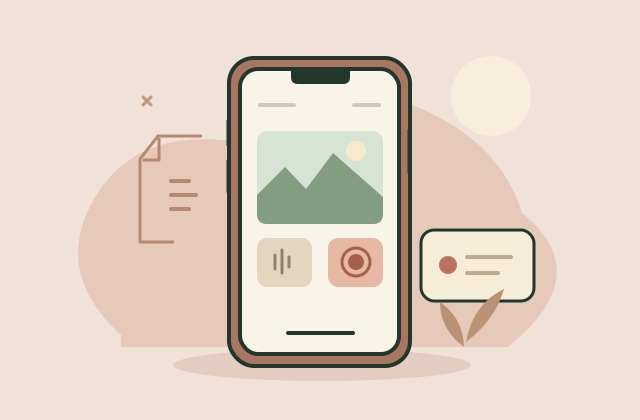
How to record your iPhone screen
Step 1 of 6: Open Control Center
Swipe down from the top-right corner of your screen.
✓ Step complete. You can practise it again.
Step 2 of 6: Add the recording control
If Screen Recording is missing, tap the plus button, then Add a Control. Choose Screen Recording.
✓ Step complete. You can practise it again.
Step 3 of 6: Start recording
Tap Screen Recording and wait for the three-second countdown.
✓ Step complete. You can practise it again.
Step 4 of 6: Capture the action
Close Control Center and do what you want to record.
✓ Step complete. You can practise it again.
Step 5 of 6: Stop the recording
Open Control Center again and tap the red recording control.
✓ Step complete. You can practise it again.
Step 6 of 6: Review your video
Open Photos and find the recording in your library.
✓ Step complete. You can practise it again.
Take your time. Next marks this step done.
You’ve finished this guide.
Every step is complete. You can come back and practise again whenever you like.
Your small practice task.
Try the task with something you are comfortable changing. Stop if a message asks you to erase data or spend money.
Completing the guide records your progress here; it does not check your device settings.
A common question.
Where is the recording saved?
It is saved automatically to your photo library.
Why will one app not record?
Some apps block audio or video capture.
Official help, if you need it.
These links provide the product’s own instructions or relevant public guidance. Settings can differ by model and software version.